Easy and Free Method to Compress Images on macOS with GUI and Terminal
By Güngör Budak
- 2 minutes read - 294 wordsImage compression is mostly needed if you are short of storage on your devices or if you want to serve your images online and you want to optimize them in a way that we load fast which greatly affects how search engines evaluates your content and how users will enjoy your website.
This is especially important if you are also aiming to support for mobile devices and internet connections that are relatively slow.
I did this for the images on my website and I’m very happy about it. The solution is an app which is free and open source called ImageOptim . The app works on macOS with GUI supporting Terminal executions (free) and it also has an API (paid). It supports macOS Mojave too.
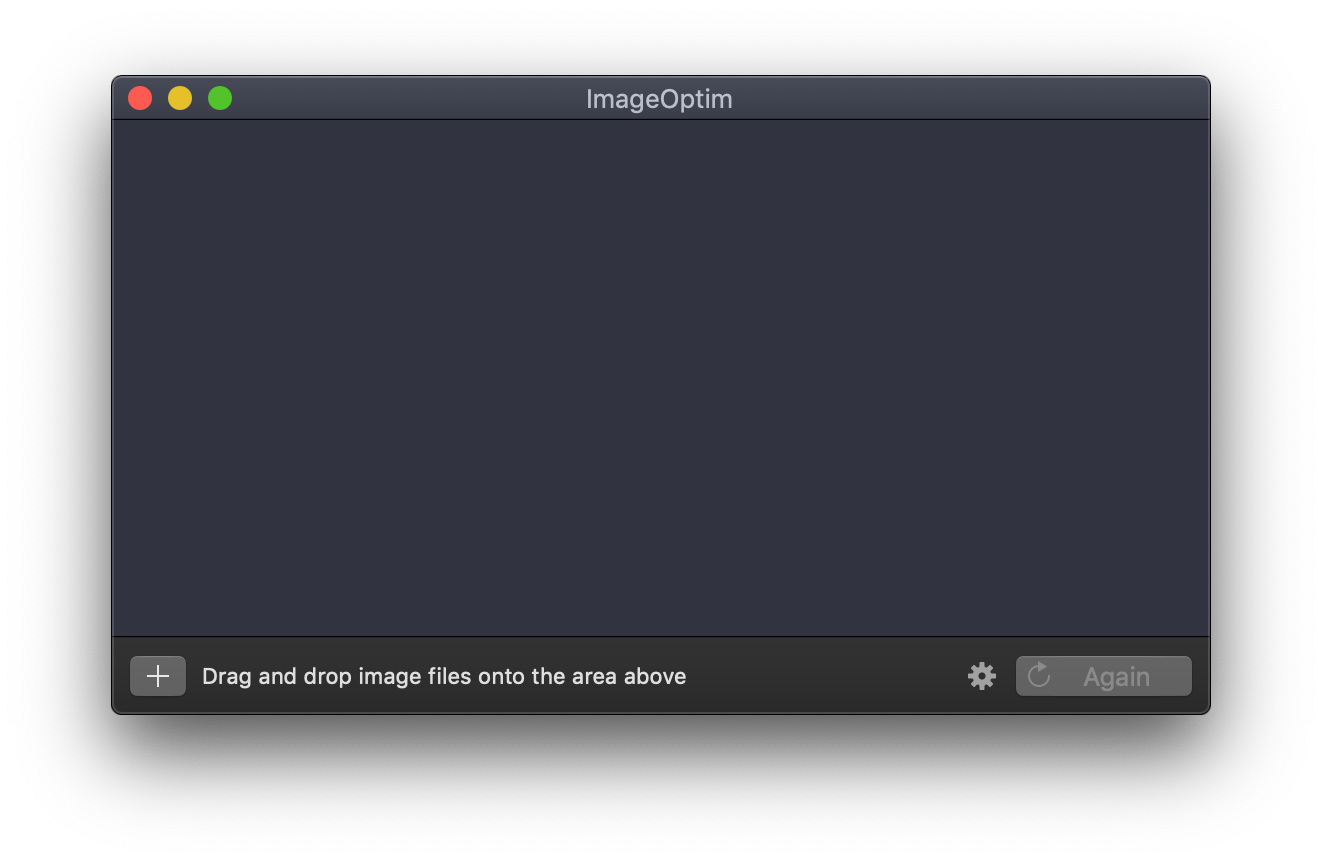
By default, it doesn’t have Lossy minification enabled so it didn’t compress much for me but when I enabled this and left the quality as 80% (default), it did a better job (Preferences can be opened using cogs button at the right bottom of the window and this option is in Quality tab). The image quality didn’t get worse much so I can say it worked well. The lossy compression can be applied to JPEG, SVG, animated GIF and PNG formats as well.
Example
Following image is 640x428 JPEG image with size 100.554 bytes and with ImageOptim lossy compression its size can be reduced to 53.177 bytes.
Original Image

Lossy Compression with ImageOptim

Compressed Image

Image quality hasn’t changed much but it is compressed by almost 50%!
Terminal
There is a command-line interface version of ImageOptim .
For Linux and Windows
ImageOptim lists different alternative tools for other platforms on its version page so go and check out if you are looking for an image compressor tool for Linux/Windows.